http://community.how-to-draw-and-paint.com/ this is the link for a great web site which you can find lots of videos and many other artists who will help you in your search for answers to all your art questions. 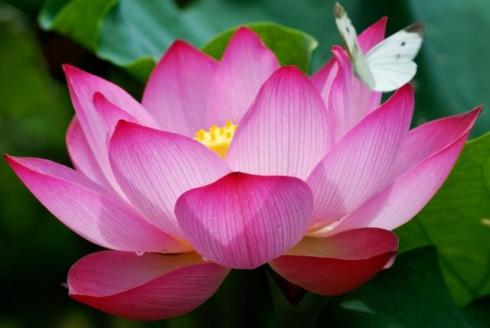 This ….I want to paint
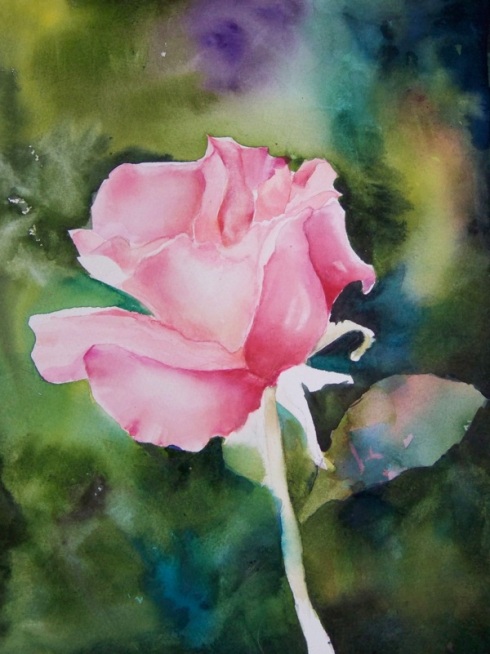
If you look back at the last post regarding this painting you will see I painted a light background of sap green, qim pink, cyan blue, perelene green, purple and yellow. This time I painted it a little darker while painting a leaf negatively. To paint something negatively just means you don’t paint the object but you paint around the object.
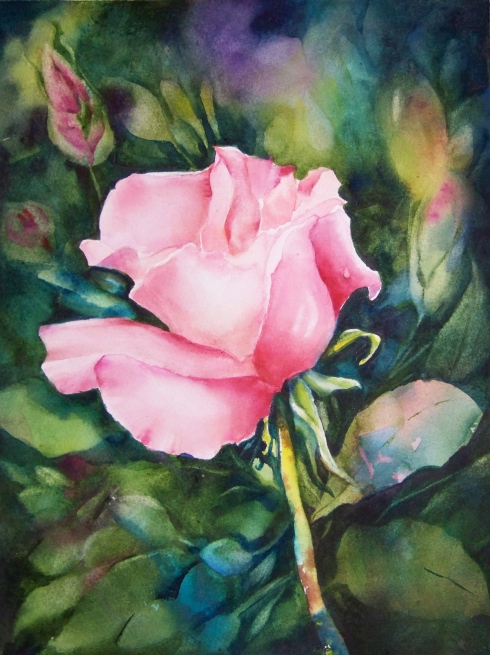
Here is the finished painting. You can go back to the photo and see how differently it looks from the photograph. This is very much my intention because I only use the photo as reference for areas I may need to see when making my decisions. After a certain amount of painting I will then forego the photograph and only look at the painting and allow it to tell me what it needs. Most artists can always look at one of their paintings and see something else they could “finish” a bit better and its difficult to call a painting done, but I believe except for a highlight on the dew drop this painting is finished for now.
To flatten a large watercolor painting, you will need several things,
Spray bottle with water
Foam core, cardboard, or a large piece of mat board.
Books or other heavy items
Paper towels (no prints or printing)
First thing you need to do is turn the painting over onto a flat surface such as a glass tabletop or a piece of foam core slightly larger than the painting.
Spray the back lightly with water, do not allow this water to seep around to the front of the painting.
Put paper towels over the wet surface and lay another piece of foam core or mat board on top of the paper towels.
Place books or other types of weights on top of the foam core and allow to sit 24 hours (depending on temperature and humidity it could be less)
Take the books or weights off and take a look at the painting. It should be totally flat. And dry. If it is still damp it may warp again so replace everything and allow it to sit a while longer.

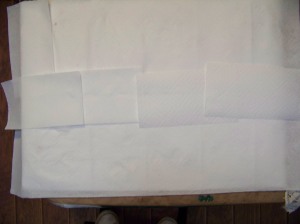
The painting right side up and also turned over ready for spraying with water.
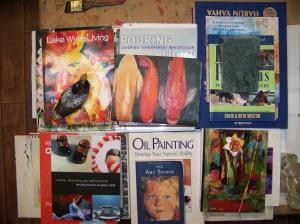
The painting covered with paper towels after being sprayed lightly with water, The books which I used as a weight
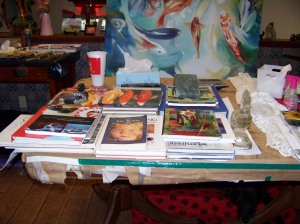
The painting lying flat under the foam core and the books for 3 to 24 hours.
The finished painting ready to frame!

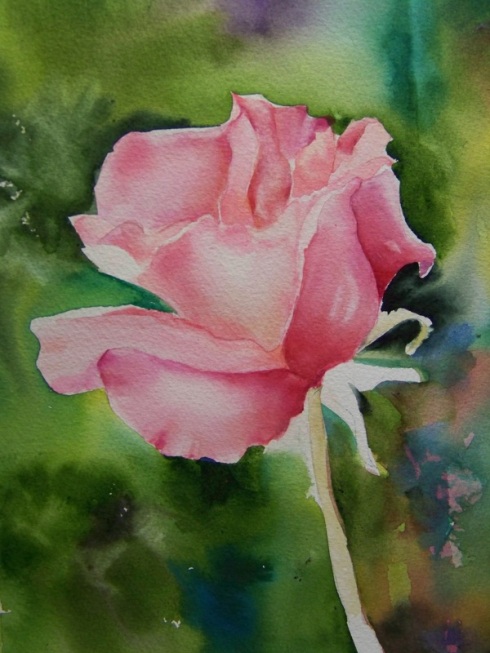
The colors used in this background are lemon yellow, cyan, purple, opera, and sap green.
Sorry to have taken so long to get back to you but I had a family illness and have been very busy.
I painted another layer of pink on all the petals and I made sure that the leading edge of paint was softened with a damp brush so that there are no hard lines other than the ones on the edges of the petals.
I accidently painted over the lower leaf but this will be correct in the next step. I will also make sure to paint another layer of paint over the background so I can achieve a darker and more value driven painting.
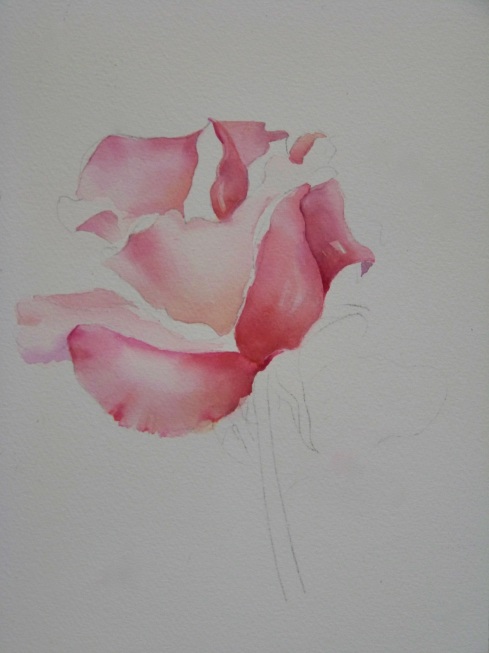
This rose is painted using the colors Quin pink, permanent rose, and magenta. The yellow underpainting was lemon yellow, windsor yellow would also work or any cool transparent yellow will look good.
You can see I have deepened the color and used magenta in some areas because I love a darker color than what is actually in the photograph. This also helps give the values a boost which will help create the illusion of form and substance.
Ok now that you have your rose drawn onto 140 lb watercolor paper your first step will be easy.
This is hard to see but basically a cool yellow ( lemon yellow) is applied very lightly and allowed to dry. now… Soften the edges where the yellow meets the white of the paper. Then after this layer has dried, ( touch the paper with the back of your hand, if it feels cool, its still wet) paint a light pink layer on the petals. Its easier if you paint one petal at a time and skip around so that no two petals are touching when they are both wet. This is of course If you don’t want the color to bleed across the lines.
If your unsure of which petals to leave a little lighter, you can look at the reference photo or just make a decision early on that the light will be coming from one side and keep all the lighter pinks on that side while having the darker cooler pinks painted on the other side and of course underneath the petals or in the shadows or anywhere the petals turn away from the light side. Sometimes this has to be exaggerated as photos don’t always have this information.
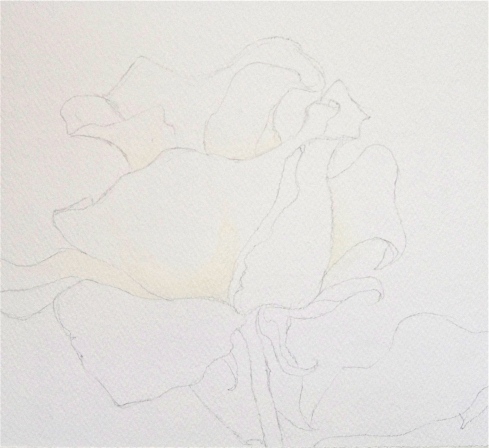
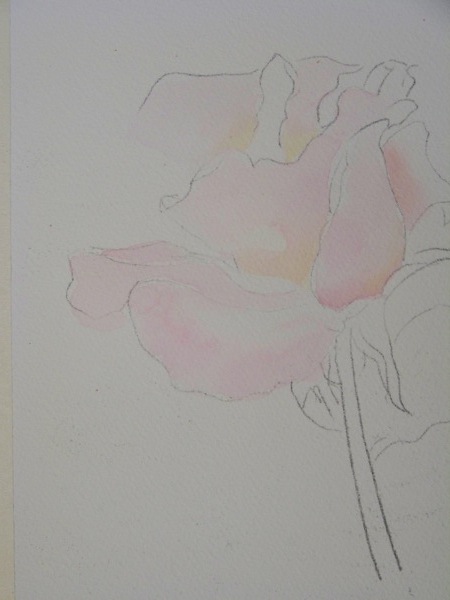
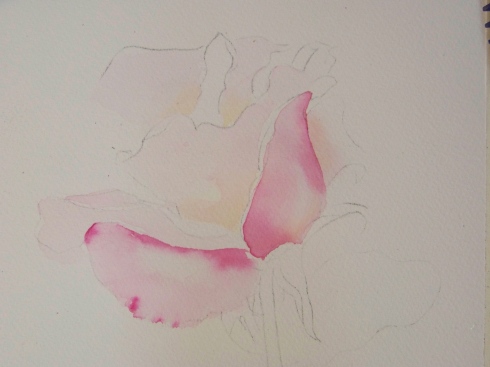
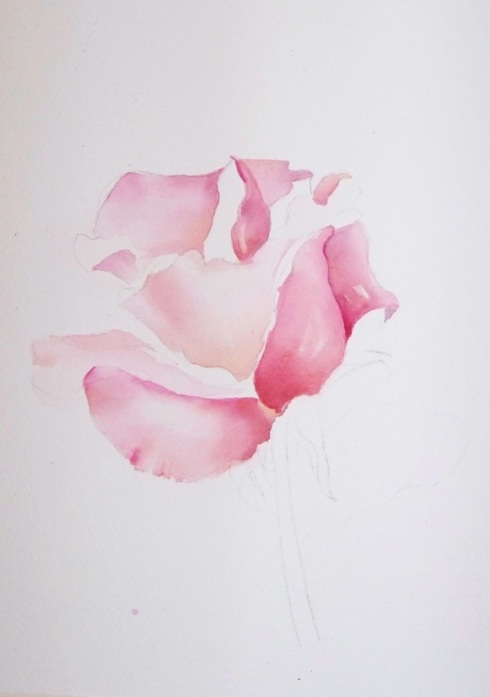
As you can see from the photos you are painting the petals a light shade of pink over the last layer of pink. The reason you build up these “glazes” slowly like this is because the petals will glow and almost have a translucent effect. Glazes produce a stain glass window effect or look which works very well for representing petals of a flower. You can see I painted yellow to start… then painted a pink layer, when I painted the petals I would always soften any edges that formed inside the petals with a damp brush. If you feel you don’t have the confidence to paint this directly without creating hard edges, you can first paint the petal with a layer of water then paint into the damp petal with the paint. Make sure your paper is glistening but not soaked with water. You will also have to make sure to mop up any puddles of color or water because if you don’t, that color will float to the edge of your petal and give you a very hard line.
Look at your paper by holding it up to your eyes so you can view it from the side, this way you can see how much water/paint is on the petal. Once the shine has disappeared do not touch the petal with more water or paint till it dries. Now… move to the next petal (not adjacent to the last petal,) and paint until you have a layer of pink on all the petals. When your painting in a new glaze you may want to either leave some of the paper white or light for a highlight or you can paint a glaze and use a damp brush to pull some of the wet color out of an area. This will also produce a softer highlight then if you used frisket. You will wait till each glaze has dried before you put on another layer. You will selectively apply a cooler pink on the base of each petal and in the shadows of some of the petals. This cooler pink is Magenta, if you don’t have a magenta, you can mix blue into your pink to make a cooler pink. As you apply layer after layer of color you will also leave some of the layers underneath the one your painting lighter while darkening others. This value change will create the form of the petals. It will also produce a look of light hitting the petals on the highlights.
Check back with me for more updates…
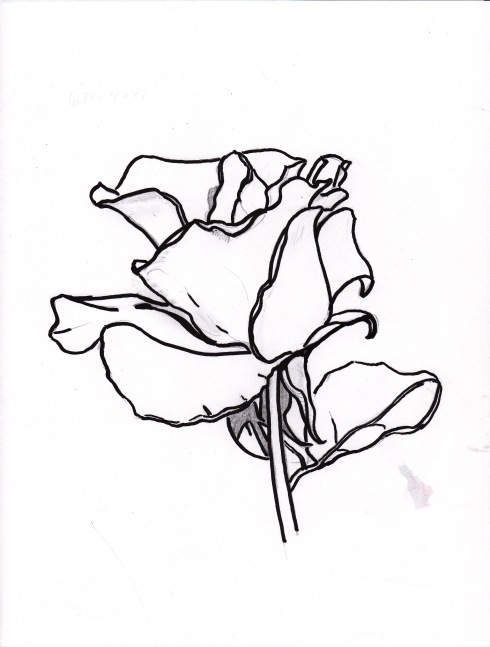
Because I wanted this line drawing to be dark enough for you to trace, I used a sharpie over my pencil drawing… the problem is… the lines are too thick… so when you draw it onto your watercolor paper do not press hard ( because you won’t want to score your paper and you won’t want the lines to show), so make sure the lines are thin and they are light. The spot on lower right hand side is a stain which was on the back side of the drawing, don’t trace it.

Here is a photo for anyone who would like to follow along with this lesson. I will put up the lesson soon.
Shanti


Recent Comments